
|
|
After six years of abuse involving several minor accidents, door dings, and keying, I decided it was time to repaint the Integra. Using money from two insurance payments (one involving a rude girl who hit my car when she opened her door and another involving a much more honest person who hit my car while parking in the rain), I repainted the car "Clover Green Pearl", a factory Integra color for the years 1997 to 2000.
Since I actually repainted it myself rather than allow a body shop to do it, this project actually was a very major undertaking. Luckily, I had a sister who does professional painting using HVLP spray equipment and who offered to help. So, in order to achieve as factory-like a finish as possible, I removed every part of the car's exterior that I could: the hood, bumpers, mirrors, door and window moldings, side sills, door handles, and in the process, most of the interior. We wet-sanded the entire car, filled small dents with body putty, and then repainted it using a paint system from DuPont called ChromaSystem. This consists of four coats of basecoat and two coats of clearcoat. Then I wet-sanded all imperfections, buffed it, and polished it back to a shine. The whole project took about one week.
If you have any aspirations of doing this, make sure you are comfortable with taking apart most of the car (or suffer with obvious flaws from masking), that you have at least one straight week to complete it, and that you have HVLP spray equipment and are skilled in using it (or have a friend who is).
While I was going to the trouble of painting the car's body, I also painted the door moldings the same color. This is standard on the '98-'01 Integras, but back in '94 they were just black. The body-colored molding really helps to make the car not look like an economy model.
If you're thinking of painting your side moldings, be warned that it's not an easy task. To do it properly, you need to remove the moldings from the car first, but you might be able to get away with masking. To remove the front door moldings, you must remove the inside door panels, peel away the vapor barriers (which may tear if they're old), and then use pliers to squeeze the tabs holding the moldings to the door and push them out. Be very careful not to bend the moldings; they have steel cores, and they won't unbend without a permanent bend mark. The rear moldings are even worse: you must remove all interior pieces in the rear of the car (seats, inside panels). Only then will you have access to the tabs that hold the rear moldings to the car. However, these are short and plastic, so they're easier to handle than the front moldings and don't have the bending problem.
If you have a non-metallic color like white, black, or silver, you might be able to find a good spray paint that closely matches the car's color. But if your car is a metallic color, you'll need professionally mixed paint. Luckily, there is a company called Paintscratch which sells paint mixed to your factory color code. You can get spray cans from them for $30; make sure to check the box for flexible parts so they'll add a flex agent to the paint, and you should also get a can of clearcoat for another $15. Luckily, paint adheres well to the stock black moldings; be sure to sand them with 1000-grit sandpaper first.
 |
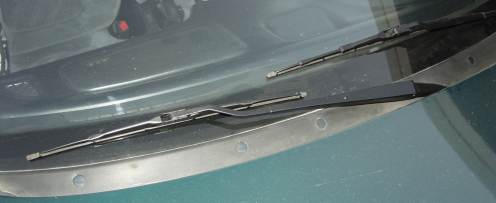 |
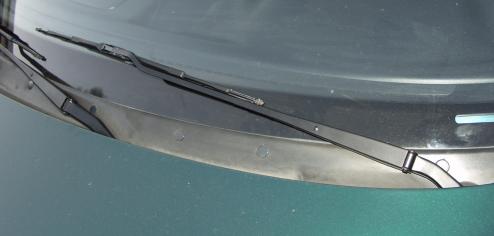
My Integra, like almost every other Honda I've ever seen, had a problem with the paint on the wipers and wiper arms wearing off prematurely. I sanded down the old paint, then used acetone to remove loose paint and clean the wipers, then spray-painted them first with a coat of grey primer, then with several coats of Plastikote flat black enamel. The wiper arms look even better than they did on the showroom floor.
You can read this article on team-integra.net for more detailed instructions:
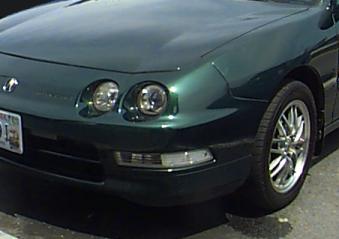 |
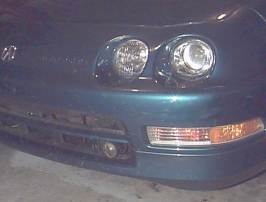
This is a set of the highly ubiquitous clear corner lights. If you live in a cave and are not already familiar with these, they're the same front turn-signal and running light units used on the Japanese version of the Integra. In Japan, cars are allowed to have clear lenses for their turn signals, but here they must be amber or orange. In most states, the law actually only says that the light from the signals must be amber or orange, with no reference to the lenses themselves, but for most Japanese-made cars sold here, they use amber-tinted lenses instead of the clear ones used in Japan. So of course, lots of Americans interested in customizing their Hondas have been either modifying their existing units or buying replacements in order to get that different look. I held out for a while, but lately the prices on aftermarket replacements are so low ($25-30 per pair, even lower than the stock lights!) that I just couldn't resist. Besides, amber might look OK on some cars (like orange ones), but it looks like crap on a green car.
Of course, to make them legal, I use orange-tinted bulbs.
In some areas, theft of these lights has been a problem due to their popularity and their extreme ease of removal: they're held in with only one screw. To protect your lights, replace those Philips screws with something more difficult to remove, such as Torx or Robinson-head screws. These are available at most large hardware stores.
You can read this article on team-integra.net for another anti-theft method:
 |
These are a pair of projector-beam Blazer fog lights. They're inexpensive, but perform somewhat adequately. They were installed using specially-fabricated brackets so they could attach to the back of the urethane bumper.
Update: When I repainted the car, I removed the Blazers and neglected to put them back on afterwards. I decided not to bother, since they really don't make any useful light.
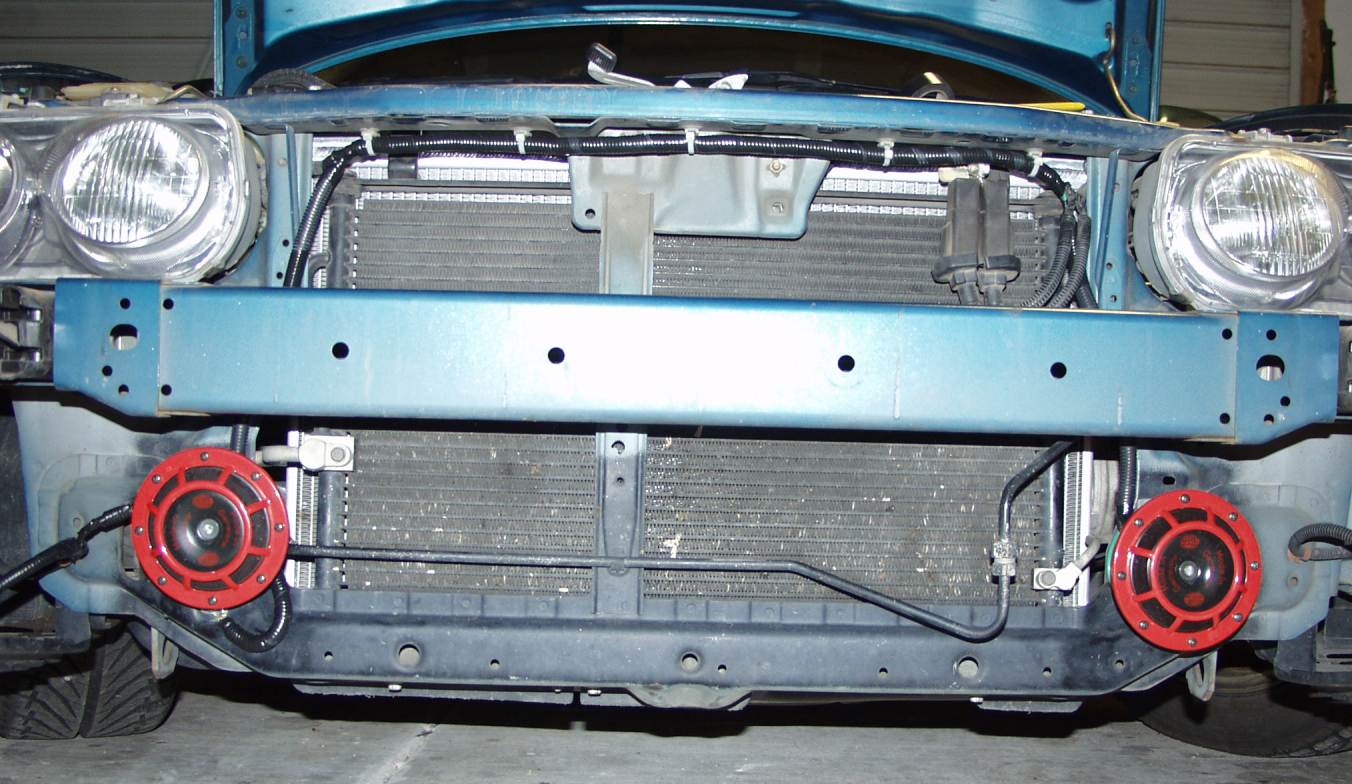 |
| Hella Supertone Horns |
Like many people, I got tired of the wimpy horn that came with my Integra. At first, I bought a $10 Wolo horn at my local auto parts store. It wasn't as loud and annoying as wanted, but it sounded like the average car horn, which was a big improvement over the original horn.
Now I'm using the much-acclaimed Hella Supertone. It's extremely loud and annoying, with two separate horns, one 300 Hz and the other 500 Hz. Because of its high current usage, I installed a new 12-gauge power wire to the horns, and used an unused relay location in the under-hood fuse box with a dedicated 30A fuse to switch the horn.